8 Uber Eats photo tips to make your menu photos stand out
- Uber Eats reviews every menu photo before it goes live. It asks for photos that show each dish as you serve it, so start from a picture of your own plate.
- Uber Eats' photo guide doesn't publish pixel sizes. SecretSauce makes Uber Eats photos at 1600 × 1280 pixels, a 5:4 landscape shape, as JPEGs up to 10 MB.
- AI can fix the light, background, and framing of a phone photo, and restyle a whole menu in a look that's yours in one sitting. It shouldn't change what's on the plate.
On Uber Eats, customers can't smell your kitchen or watch the plate go past. The photo is all hungry customers have, and they decide in a scroll. Uber Eats checks every photo before it goes live, so meeting the Uber Eats photo requirements is the first job. The second job is harder when you're also running the business, the staff schedule, and the supplier order: creating a set of photos that look like your food and your restaurant, from the first dish to the last.
Now, you can make that set from phone photos you take between services. Uber Eats' photo guide asks for a true picture of each dish and today AI can give you one in minutes. It fixes the light, background, and framing, and puts every dish in one look that's yours. Start it from your dish, and check that it changed nothing on the plate.
1. Start with the Uber Eats photo requirements
Uber Eats asks for a photo that's a true representation of the dish, shot in soft daylight, from straight above or at about 45 degrees. Uber Eats' photo guide doesn't publish pixel sizes, so use the size SecretSauce reccomends:
Uber Eats photo size
| Rule | Uber Eats item photo |
|---|---|
| Size | 1600 × 1280 pixels |
| Shape | 5:4 landscape: 5 units wide for every 4 tall |
| File | JPEG, up to 10 MB |
| Framing | The dish centered, filling 70 to 80% of the photo's width |
| Content | One dish, with no text, logos, watermarks, borders, hands, or people |
How to do it in SecretSauce: In Dish photo, choose the Uber Eats size. Tap Delivery app, then Uber Eats, and every photo on the menu comes out at 1600 × 1280.
Check before you upload: If a photo looks soft or blurry on your phone, export it again at full size. A screenshot of the photo won't be sharp enough.
2. Shoot your menu photos in natural light
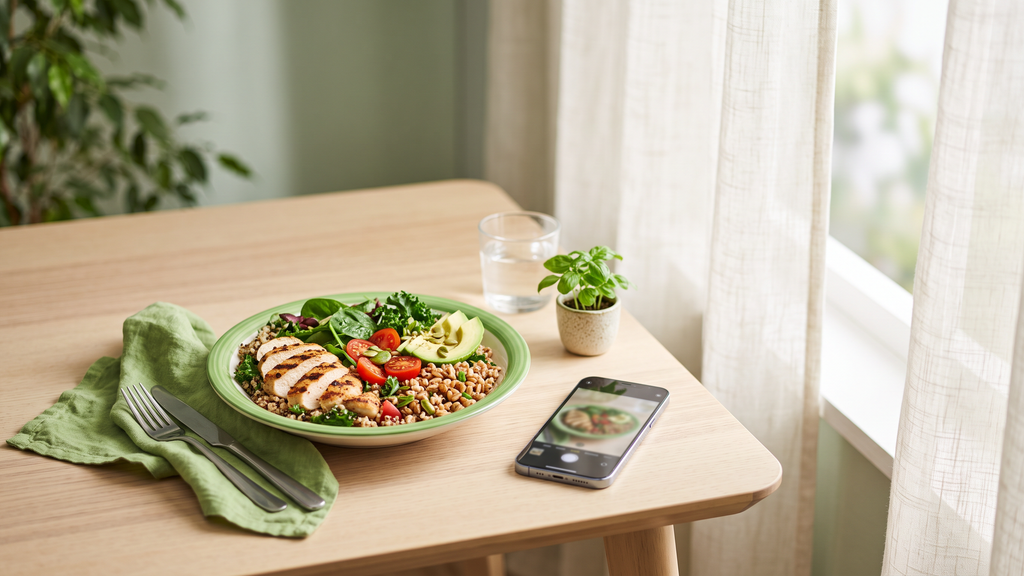
Why it matters: Uber Eats' photo guide says to shoot each dish as soon as it's plated, in soft daylight from a window, out of direct sun and away from fluorescent light.
How to do it: Plate the dish in the quiet hours between lunch and dinner service, and take one phone photo by a window that doesn't get direct sun. Turn the overhead lights off first.
How to do it in SecretSauce: If you can't get to a window, take the photo where you are. Upload it to Dish photo, and SecretSauce will change the light and the background without touching the food.
3. Choose the right angle for every Uber Eats image
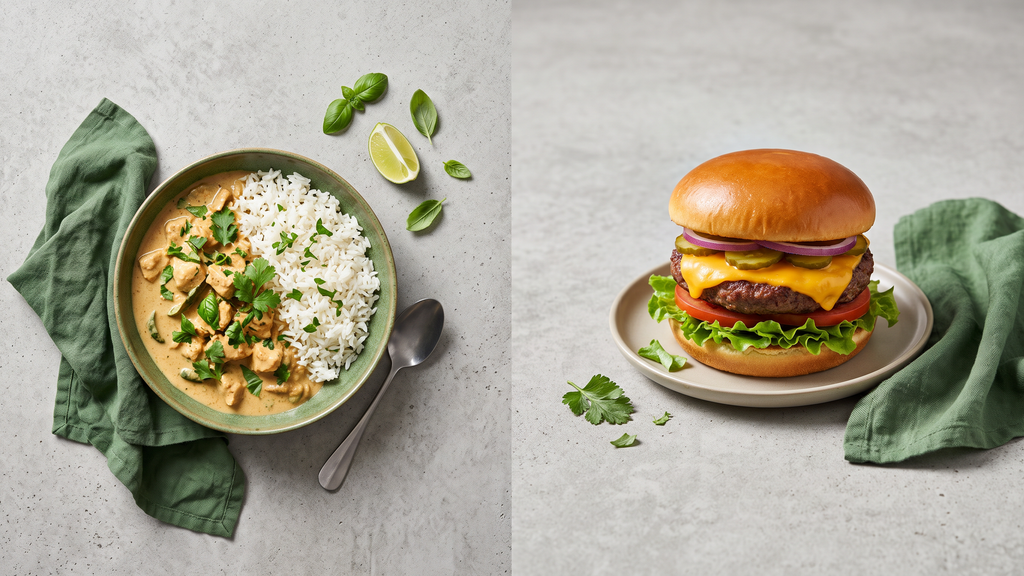
Why it matters: Uber Eats' photo guide says top-down for plates and bowls, so customers can see every ingredient, and 45 degrees for burgers, sandwiches, and taller items, so the layers show.
| Dishes like | Angle |
|---|---|
| Pizza, salads, poke bowls, curries, pasta, breakfast plates | Top-down |
| Burgers, sandwiches, stacked desserts, drinks, layered cakes | 45 degrees |
How to do it: Hold the phone straight above bowls and flat plates. For anything tall, bring the phone down to the height of the plate, then tilt it about halfway toward the table.
How to do it in SecretSauce: Upload the photo to Dish photo and pick a look. If the dish is a bowl or a flat plate, tap More variations, then Overhead flat-lay, to get it from straight above. The Uber Eats style shoots every dish at 45 degrees, so use Dish photo for the bowls you want top-down.
Check before you upload: If a bowl comes back from the side and you can no longer see the toppings, make the overhead version instead.
4. Show what's inside, and keep the photo true to the dish
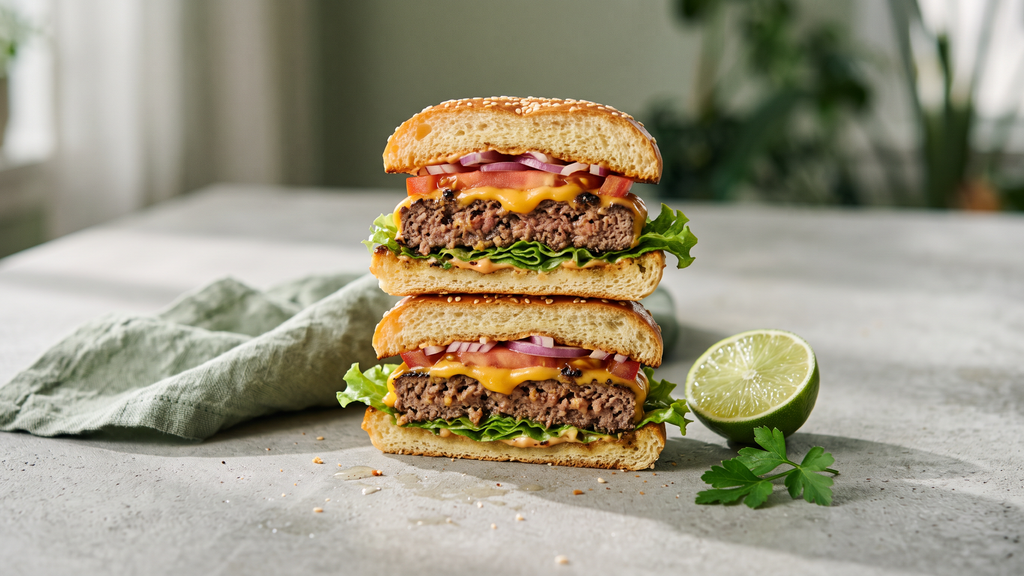
Why it matters: Uber Eats' photo guide suggests cutting burgers, sandwiches, wraps, and burritos in half and stacking the halves, so customers can see the filling. It also suggests a garnish for a splash of color, then adds: "Just be sure your photo is still a true representation of the dish." If a customer orders the burger in the photo and gets a different one, they're likely to say so in a review.
How to do it: Cut and stack it in the kitchen, then take the photo. Don't ask AI to fake the cut since it'll just guess what's inside. For color, use the lime wedge, the cilantro, or the chili oil that goes out with the dish. If the dish has no garnish, get the color from the plate or the surface instead.
How to do it in SecretSauce: Upload a phone photo to SecretSauce. It keeps the food, the portion, the plating, and your plates and bowls as they are and changes only the background, light, angle, and framing, and adds no text. The Uber Eats style shows a burger or wrap cut only if your photo shows it cut. If you don't have a photo of a dish yet, SecretSauce can draw one from the dish's name and description. Use it to try a style, then swap in a photo of the plate before the dish goes on Uber Eats.
5. Frame every Uber Eats photo with the dish in the center
Why it matters: If the dish sits off to one side or runs off the edge of the photo, customers scrolling on a phone can't tell what it is or how big the portion is.
How to do it: Put the dish in the middle of the frame, with the whole plate in shot and some space around it. Hold the phone level so the table doesn't tilt.
How to do it in SecretSauce: The Uber Eats style centers every dish so it fills 70 to 80% of the photo's width automatically, with the base of the plate at the same height in every photo. You don't have to frame each one by hand.
6. Keep one dish per photo and leave out text and logos
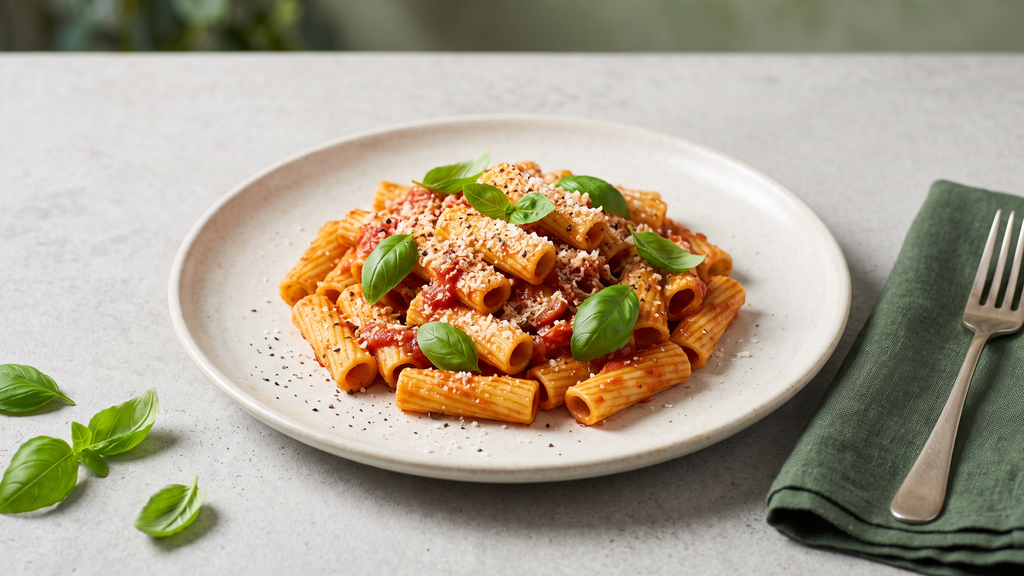
Why it matters: Keep each photo to the one item a customer is ordering. Uber Eats' photo guide warns against extreme close-ups and unclear angles. If a burger has a "NEW" banner across it, or three dishes share one photo, customers can't tell what they're getting.
How to do it:
- One dish: the whole portion, with its sides if they come in the same order
- No text: no prices, no "bestseller," no dish name on the photo. Your menu listing carries the name and price
- No logo or watermark: your logo belongs on your store page, not on every photo
- No hands or people: the dish on its own
- Not too close: customers need to see the portion size
How to do it in SecretSauce: SecretSauce doesn’t add text to your photos. The Uber Eats style keeps to one dish per photo, with the whole portion in frame and no text, logos, watermarks, borders, collages, hands, or people. If you switch the menu to your own style, the no-text and no-logo rule stays.
Check before you upload: If an AI tool slips in text you didn't ask for, it's usually small: a stray word on a menu board in the background, or squiggles on a napkin. Zoom in before you upload.
7. Keep your menu photos in one consistent style
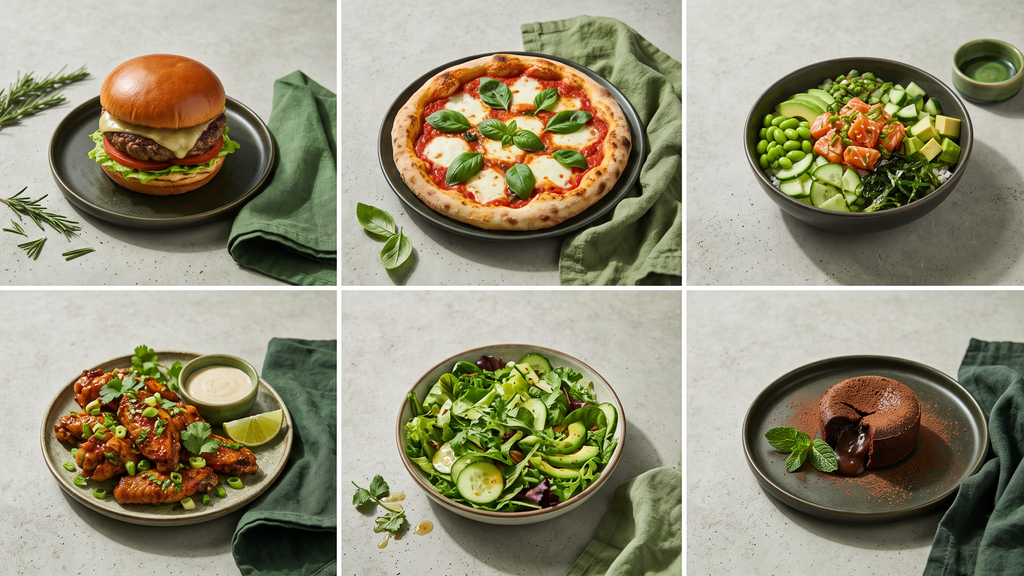
Why it matters: When customers scroll your menu, they see every photo together. One dish on marble, one on a wooden board, and one on a steel counter under the pass look like three different restaurants. If every photo shares one surface and one light, the menu looks like one kitchen and one brand.
How to do it: Pick the look from your own restaurant: your wooden tables, your tiled counter, your plates, napkins in your colors. Then show the AI one of your own photos with that surface and light. Adding a reference photo is better than typing "warm and rustic."
How to do it in SecretSauce: SecretSauce puts your whole Uber Eats menu in one look.
- In SecretSauce, create a menu and choose Delivery app then Uber Eats
- Add your dishes from your Uber Eats store link. You can also add them from a PDF, a photo of your menu, or your website, then tap Add photo on a dish to upload a phone shot
- For your own look, tap Style, then Change, then Create a style, and upload one of your photos. Then tap Add style to my menu. If you skip this step, the menu uses SecretSauce's Uber Eats style: light gray concrete, soft window light, and every dish at 45 degrees
- Pick your dishes and tap Generate photos. SecretSauce shoots up to 100 dishes at once, at 1600 × 1280
- Approve, redo, or discard each photo. The first photo you approve sets the look for the rest
Check before you upload: Look at the dishes side by side, the way they'll sit in your Uber Eats store. If one stands out for its surface, light, or size, redo it.
8. Upload through Menu Maker and fix rejected images
Why it matters: Every photo goes to Uber for approval before customers see it, and the item page locks while it's in review.
How to do it: Uber Eats' photo guide gives the steps:
- Log in to Uber Eats Manager and open Menu Maker
- Go to the Items tab and open the dish
- In the Photo section, upload your photo. The first time, you'll need to accept the terms
- Click Save to send it for approval
You’ll see a status icon in the Items tab to learn whether the photo is in review or rejected. If it gets rejected, the reason shows on the item page and Uber sends an email with what to do next.
How to do it in SecretSauce: If Uber rejects a photo, open the dish in SecretSauce and fix what the reason names. Tap Redo on the menu's review page, or Try again in Dish photo, then upload the new version and save it again.
Check before you upload: Open the photo on your phone one last time. If anything in it isn't on the plate, fix it before you click Save.
Uber Eats' free photo shoot or AI
Uber Eats offers every restaurant partner a free professional photo shoot and new partners get one during onboarding. A photographer will come to your restaurant, shoot your menu items one by one plus one profile image, and your Uber Eats rep will republish the photos. You can use them in your marketing too.
If you've never had one, book it. The trade-off is time: you schedule it, cook every dish fresh while the photographer waits, and when the menu changes, you book again.
Use AI for what a shoot can't keep up with: a new special this week, a dish that changed its garnish, or the whole menu in one sitting. If you can, use both. The shoot gives you a strong first set, and SecretSauce puts each new dish in the same look as the menu grows. SecretSauce's restaurant tools carry that look onto specials, social posts, and printed menus, and the SecretSauce Cookbook recipes give step-by-step guides.
Now it’s your turn to create Uber Eats food photos
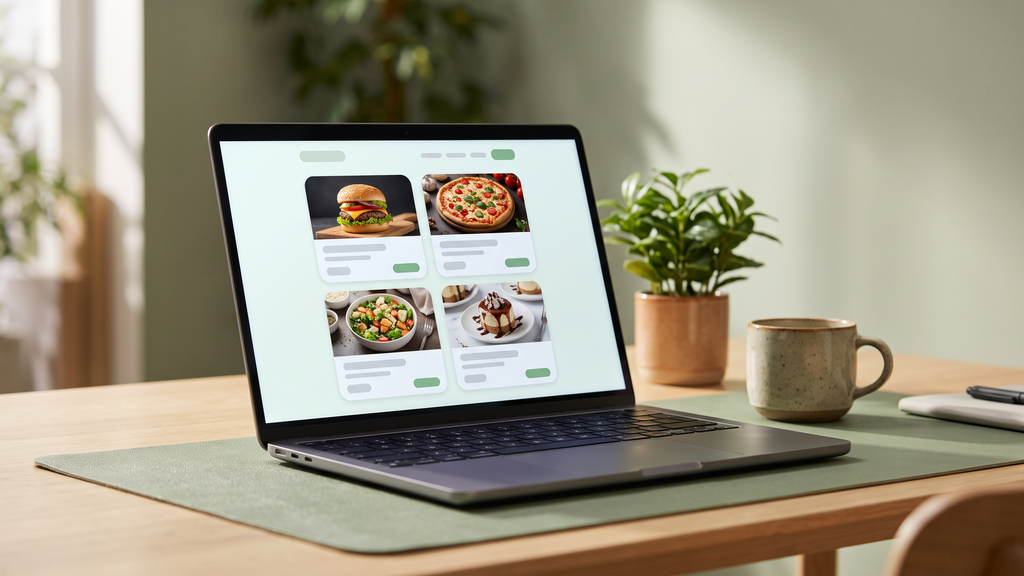
Meeting the Uber Eats photo requirements is step one. Step two is giving hungry customers a reason to pick your restaurant. SecretSauce restyles your phone photos into a full Uber Eats menu in your style, at 1600 × 1280, and keeps every dish as you plate it.
Frequently asked questions
Can AI photos meet the Uber Eats photo requirements?
Yes, as long as each photo shows the dish you serve. Use AI on a photo of your own plate to fix the light, background, and framing. Then check it for garnish you don't serve, a bigger portion, or stray text.
Can my POS send photos to Uber Eats for me?
Yes, if it connects to Uber Eats. Some point-of-sale (POS) systems and menu partners send your menu, photos included, through Uber's menu API. Uber's developer FAQ lists different limits for photos sent that way: under 25 MB, in JPG, WEBP, or PNG, and 320 to 6,000 pixels per side. Ask your provider which route your photos take before you resize anything.
Do stock photos meet the Uber Eats photo guidelines?
No. A stock photo shows someone else's dish, so it isn't a true picture of yours. Photograph your own dish, even on your phone, and let AI clean it up.
Can I use the same photos on Uber Eats and DoorDash?
Yes, the same dishes and the same look, but each app has its own photo size and shape. If you let the app crop your photo, the dish can end up off-center, so make a version at each app's size. Our guides to DoorDash menu photos and other delivery apps give each app's size.